- Announcements
- BBQ and Food
- Cars
- Computing
- Cool Stuff
- Current Events
- Electric Vehicles
- Electronics
- Energy
- Flashahaulism
- Funny
- Government
- Hints and Tips
- History
- HVAC
- Induction heating
- Internet
- Lighting
- Misc
- Neon and other lighting
- Nuclear
- Personal
- Pets
- Philosophy
- Photography
- Power Generation
- Product Reviews
- Projects
- Q and A
- RV/Camping
- Science
- Tellico
Categories
Blogroll
 Print This Post
Using the Induction Heater – Removing a stuck fan
PermaLinkOne of the banes in the lives of HVAC and maintenance mechanics is the removal of corroded, rusted in place fans, pulleys and other objects from the shafts they’re mounted on. Gear pullers often do irreparable damage and acetylene torches can often overheat and warp. Induction heat is perfect for this application.
I’m scrapping an old RV air conditioner so my friend Matt and I decided to demonstrate how the Fluxeon® Roy induction heater can be used to ease the job.
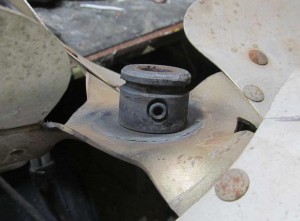
This photo shows just how bad the situation is. The AC had been on the RV for almost 30 years. Then it laid behind my cabin for several years exposed to the weather, until I could find someone to help me move it.
Not only is the shaft rusted to the shaft but the set-screw is also rusted up. I bent an Allen key trying to turn it.
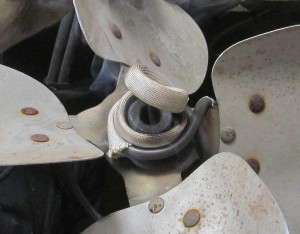
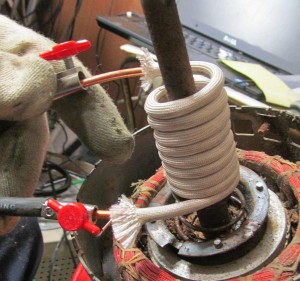
Finally, the work coil. Almost anything will do. In this case I found a hunk of electric motor hookup wire. I put some fiberglass sleeving on it in case the rubber insulation burned off and then hand-formed it to make about 3 loops around the fan hub.
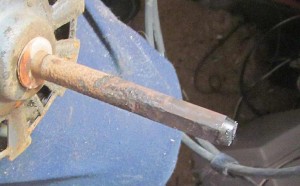
This photo shows the other side of the shaft. Not only is the shaft heavily rusted but the end is mushroomed where someone had previously tried to remove the fan by beating on the shaft with a hammer. Therefore before we started, I took a Dremel tool and ground down the mushrooming on the end of the shaftSetscrew is now finger-loose
After just a couple of minutes of heating, the set screw loosened such that I could turn it with just a couple of fingers.
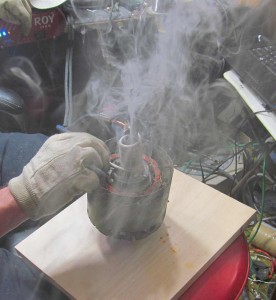
Let the heating begin! Notice the smoke rising from the hub area. This is oid oil and rubber insulation being vaporized. I heated the hub for about 3 minutes to about 900 deg F. The heat was very smooth and even, with no hot spots. Only the hub was heated. The blades remained cool and un-blackened.
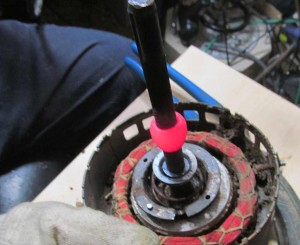
Shaft is out. After the 3 minutes of heating, I laid one fan blade on my bench, held the opposite one and gave the shaft a gentle tap with a brass hammer. It fell right out!
This is what the work coil looked like after the heating. The rubber smoked a little but was not melted. The sleeving proved to be un-necessary.
The shaft after the fan is removed. One can see just how badly it is corroded.
The fan hub after removal. Notice that it is still tight on the blade spider, is not warped or ben and with the application of a little oil, is ready for immediate re-use.
The dent marks were made by someone else in the past trying to hammer the fan off without the help of Roy
The Bearing
After removing the fan, just for fun we decided to remove the sleeve bearing which was also stuck.
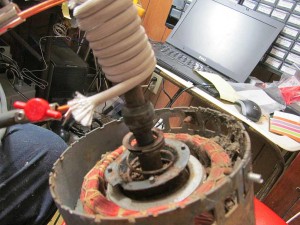
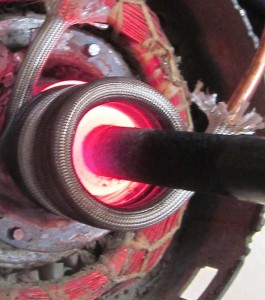
This photo shows the work coil I whipped out from some #8 solid copper ground wire and some siliconized fiberglass sleeving.
Work coil in place.
Turn on the heat! The smoke is from the oil burning out of the porous sintered Oilite sleeve bearing.
The bearing really likes induction heating! At this point, it is loose on the shaft and can be lifted up with a pair of pliers.
Bearing ready to be removed
The bearing, ready to be lifted off. Notice that the shaft didn’t get very hot at all. Yet another benefit of induction heating.
Summary
Induction heating makes the miserable and time consuming job of removing stuck objects from shafts easy and painless. For more info on the Roy© line of induction heaters such as the Roy 2500 used here, go to http://fluxeon.com.
Posted by neonjohn on October 1st, 2014 under Electronics, HVAC, Induction heating, Misc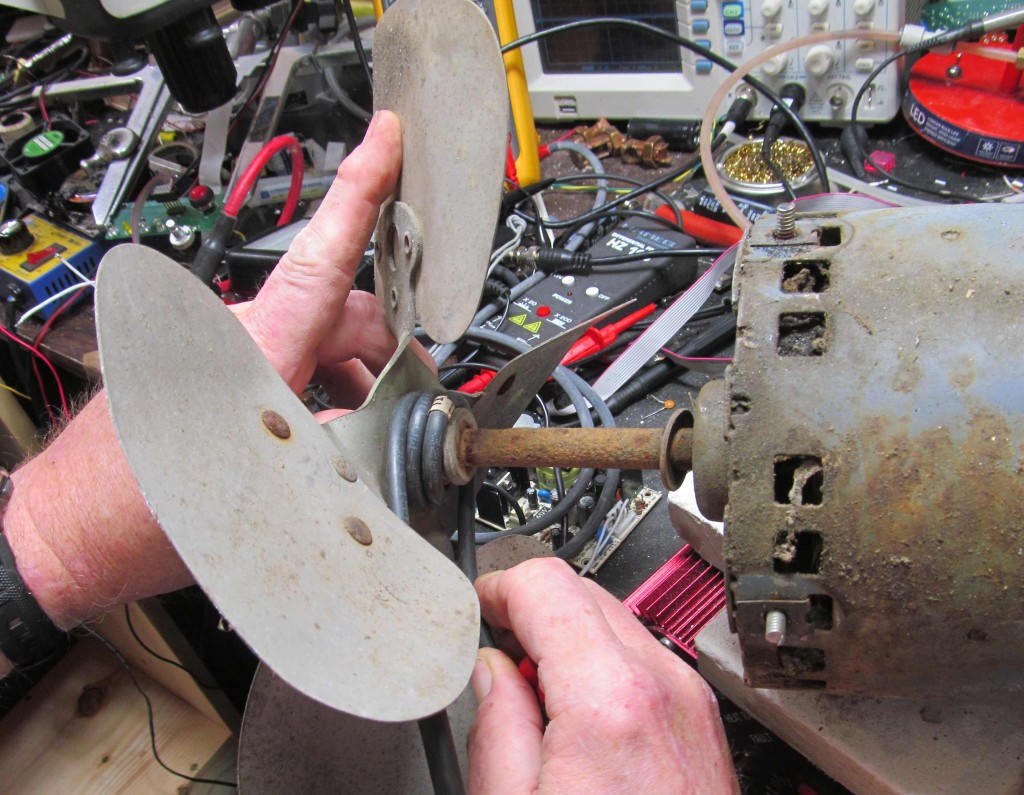
Leave a Comment